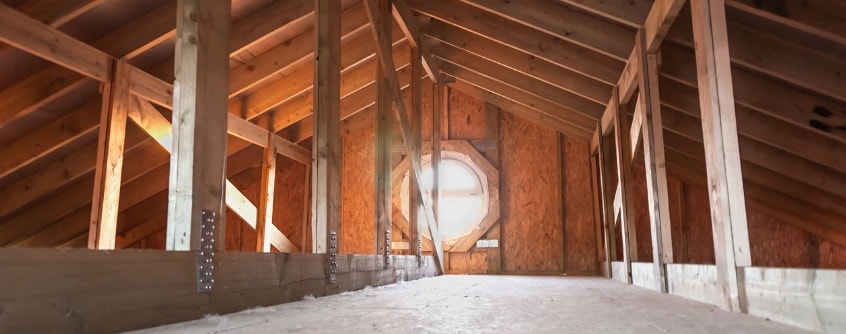
When you go up in your attic, you expect to find some dust and the quiet darkness that comes with the top tier of our house. What you don’t expect to find however is water!
Condensation in attic spaces can be alarming depending on how much you’re seeing. A thin layer of moisture versus large water droplets can mean the difference between a future, major roof repair or not.
Left alone, moisture can cause everything from musty smells, mold on wood and insulation, and of course rot. Yuck.
It’s time to do something about this because, let’s just clear the air here – you don’t want moisture in attic areas at any time.
Let’s take a look at what might be going on in this enclosed space atop your house and some of the ways you can address and prevent it from happening again.
Finding the Culprit for Your Attic Moisture
When troubleshooting, you have to first understand that the issue goes beyond you attic. You need to look at your entire house.
Some questions to think about include: How do you heat or cool the interior? How much insulation or attic sheathing do you have and what type depending on the age of your home?
Condensation in Attic In Winter?
Warm air simply holds more water vapor than cold air. If it’s cold outside, and warm air from indoors makes it to the underside of your cold roof, this air begins to decrease in temperature and releases it’s moisture content along the way. It’s basic science.
So how is warm air getting to your attic in the first place? Let’s check a few of the obvious things first.
First, confirm that no bathroom or kitchen fans are pushing warm air into the attic. This can happen if duct work has been compromised or an incorrect installation was done initially.
Second, check another common entry point that allows warmer air to get into your attic in winter – through attic doors or HVAC ceiling registers and ducting.
Additional places include where water pipes and other conduits run through your attic floor.
You want to seal these is up with caulking and weather stripping. Then make sure doors, hatches, attic access panels, and vents are battened down tightly.
Got frost?
One point to note is that your attic will of course feel cold in the winter months. Of course, right?
If you have frost in your attic, especially on a window, it just means that the moisture that is making it’s way in is freezing. We don’t want that cold air pushing it’s way into your living spaces, so shoring up any gaps will certainly help your heating bills too!
Sometimes, roofing nails that come through your roof’s sheathing can be home for ice cycles. Simply clip the ends of these nails to eliminate condensation from forming there.
During winters where cold rains occur, you should inspect your roof to ensure there are no leaks where even a small of water can creep in.
During wind-blown storms, it’s not uncommon for some moisture to come in through attic vents or any gaps around attic windows as well.
What About in the Summer?
Well, the same principles apply here, except that your roof may be the side that is warmer in the summer.
Heat from the sun radiates from your roof, and vents allow warm, moist air to enter your attic.
This is ok, unless again, you have breeches into your living quarters that allow your air cooled by your air-conditioner to come into your attic.
Wherever your A/C-cooled air is entering may be cooler and when that muggy summer air contacts any cold surfaces you may notice the attic condensation problem.
How to Completely Prevent Condensation
Once you’ve blocked the common entry points for air and thus moisture penetrating your attic space, you can prevent moisture from accumulating in your attic in two main ways:
Install a Vapor Barrier
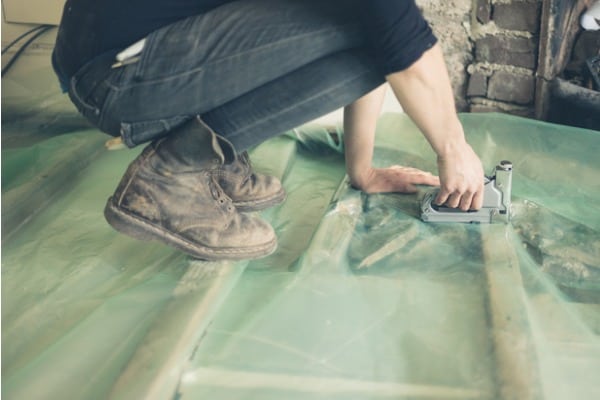
This material will retard moisture from coming up through your house.
How to install it?
The rule of thumb here is to lay your water vapor material on the underside of your insulation, next to the warm side of your house, i.e. directly above your ceiling and joists.
Your insulation may already have a moisture barrier on one side. If it does, then you’re probably set. If not, you should definitely add this.
Simply staple a 6ml polyethylene material to your ceiling joists. You can either form this into each bay between the joists or cover the attic floor flat.
Get the Air Moving
The enemy of water condensation is air movement. If stale air is what condensation thrives on, then we need to make sure the opposite is happening in our attic environment.
This is where attic vents come in. How much your attic actually needs depends on it’s size as well as if you have a vapor barrier installed.
An accepted guideline is to have 1 square foot of venting for every 300 square feet of attic floor area.
If for some reason you cannot get a vapor retarder installed, then just multiply the above numbers by two.
What kind of vents should you have?
Typical passive attic vents include: Cupola, Ridge vents, Penthouse louvers, breathers, turbine vents, and soffit strip vents.
If there is even the slightest wind current outside, then these ventilation components will do their job for any kind of roof.
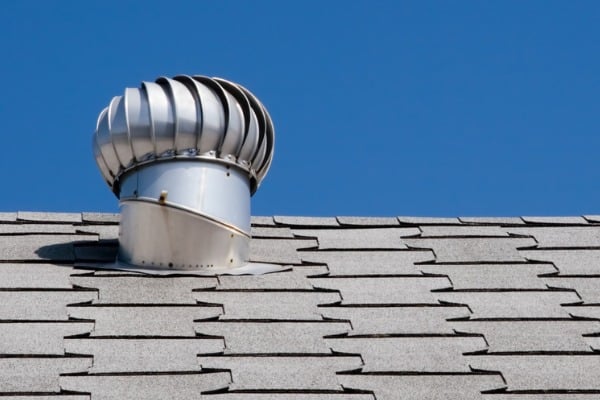
You can easily install a breather; however, soffit strip vents and mechanical turbine vents will offer the greatest airflow.
For rooftops, gable or roof-mounted louvers can be installed.
For most attics, having both soffit vents and roof louvers are ideal, with inlets and outlets being approximately the same size.
Of course, adding an electric ventilation system is even better yet, if you’re prepared to pay a little more money.
What About a Dehumidifier for Attic Spaces?
If you really want to go all out and ensure the least amount of moisture can collect in your attic, then you can invest in a dehumidifier for your attic.
Much like a dehumidifier in your home, this machine will pull moisture out of the air efficiently, so that regardless of the temperature between your home and your roof water will not have a chance to accumulate.
These machines can be programmed to turn on when relative humidity levels reach a certain point in your attic such as 45-55% (they are made for basements, crawlspaces, garages, etc.)
They run about $800 and up, plus installation costs. That said, when you factor in potential damage from moisture issues on your wood and attic insulation this isn’t a terribly expensive investment.
In Summary…
Finding wet insulation in your attic or moisture accumulation of any kind can be unnerving.
This is nothing more than a science project with your primary goal to stop air from leaking into your attic.
You can do this by shoring up any gaps in your ceiling and roof. Then add a vapor barrier beneath your insulation.
Finally, to stop condensation in attic areas for good, make sure you get the air moving up there by having the proper ventilation in place for the size attic you have.